- How To Create Your Labor Day Bathroom Makeover. Part 1
I love doing do it yourself (DIY) projects when we get a long holiday weekend. Labor Day Weekend. I know it’s supposed to be a time when you relax. For us, though, Labor Day weekend gives us the perfect chance to get caught up on the “honey do” list. Clay works weird hours and that is pretty much the only chance we have to get any major renovations done. This year, I’m tackling our bathroom with an inexpensive Labor Day Bathroom Makeover! And I’ve already gotten a head start!
I’ve mentioned in previous DIY posts that we rent so there’s not a ton of renovating I can do without permission from our landlord. But I can do things like paint and change door hardware and accessories. If you can’t do major changes, just doing a few things in your bathroom can make a big difference. Ladies, here is another project you can do yourself to change the look of your home.
Change the shower curtain rod.
Yes, that’s it. That one simple task can have a huge impact on the look and feel of your bathroom! And switching to one that mounts with hardware, versus a tension rod can really change up the look as well.
Disclosure: I received a complimentary product to facilitate my review. All opinions are strictly my own.
I switched from a standard, straight, tension shower curtain rod to a curved shower curtain rod with mountain brackets. I went ahead and did this before Labor Day weekend because we are also going to be changing the linoleum and painting as well as changing some more of the hardware. But I wanted to show you what a difference this one, simple little change can make. And it takes less than 10 minutes.

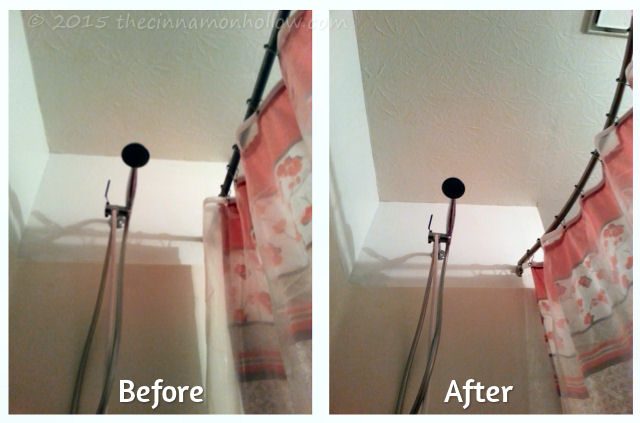
Not only does it make my bathroom look different, it also gives us a TON more elbow room. In out bathroom, the shower curtain liner always had a tendency to pull itself inward while you were taking a shower. That got so annoying! It would cling to you and make it really difficult to wash.
I measured the length of our tub and determined we needed a 5′ curved shower curtain rod set. They also had 6′ but that would have been way too long for ours. So always make sure you measure first. Even with the 5′, we still had to cut just a little off each end so it would fit once it was assembled on the brackets. Clay did the cutting for me and I did the installing. It was so easy!
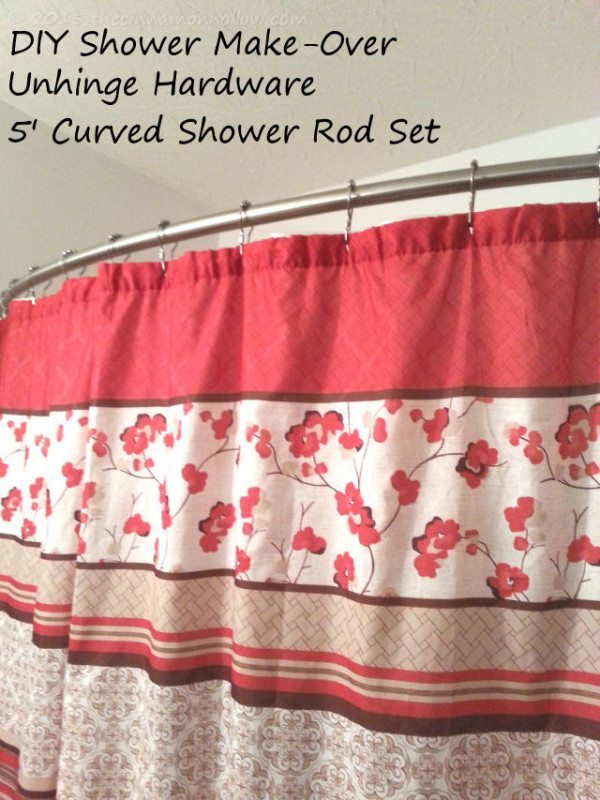
The curved shower curtain rod set I chose is a Satin Nickel finish and it looks so nice in our bathroom. After Clay cut about an inch off each end I slid the ends caps on, tightening the screw with the included allen wrench. Then, I measured how far the curve would stick out past our tub. Our commode sits next to it so I didn’t want it out too far. Then I measured where each bracket needed to go in order to let the curve of the rod land where I wanted it to. FYI, this is usually 3 – 5 inches farther inside the tub area than your standard shower rod. I screwed each bracket in place, set the rod assembly into it, tightened the bottom screw and I was done!
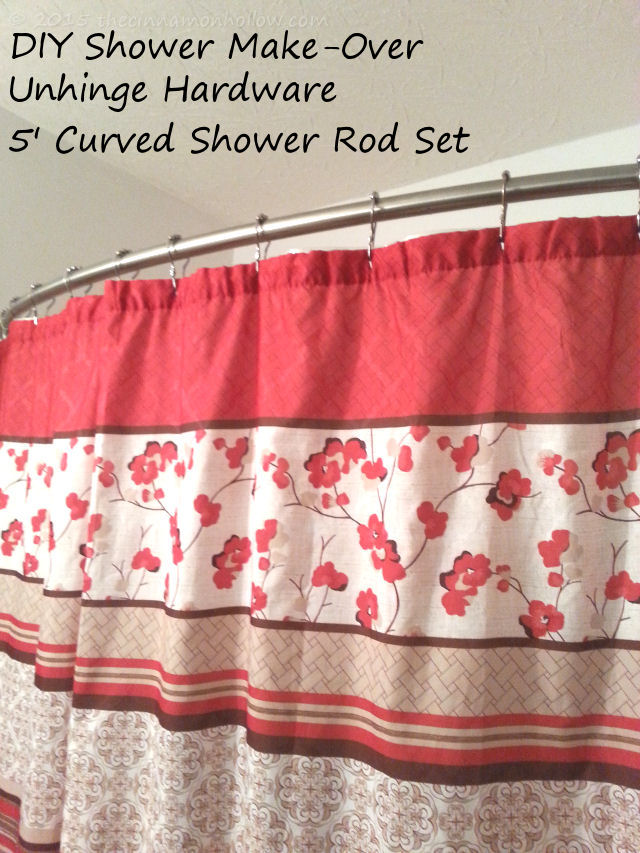
I had a pretty curved shower curtain rod!
The difference in elbow room is fantastic! When I took a shower the curtain liner didn’t pull in and cling to me at all. I took a before and after picture of what it looks like from the inside of the tub. You can see the difference even in the photo.

I really love the curved shower curtain rod I chose. I ordered it from Unhinge Hardware and it came really quickly. Within a matter of days, actually. It is made of heavy duty stainless steel. The curtain rod feels good and sturdy. It’s smooth and my shower curtain glides back and forth easily. The hardware is nice and heavy duty too. It came with all the screw and wall anchors I needed for assembly. It had anchors for both drywall and tile. Aside from needing to trim the ends, it was install ready when it arrived.
I love that Unhinge offers discounted prices, free shipping, next day delivery and a meet or beat any price, guarantee. An internationally recognized manufacturing company, Unhinge supplies creative resources at affordable prices. I couldn’t be happier!
Ok, so this is just one small project that I feel made a petty big impact on our bathroom already. This was part 1. After labor day I’ll show you all before and after photos of the rest of our tiny bathroom along with the steps we took. I’ll be getting rid of those awful white walls and changing the linoleum (with permission) because the one we have is old a ripped. I’ll also be adding some organization, changing some of the hardware for an updated look. I can’t wait!
Do you have any renovation on our Labor Day weekend list? Will you be doing a bathroom makeover?
- How To Create Your Labor Day Bathroom Makeover. Part 1
Travel Lover | Pet Mama | Beauty Junkie | Low Glycemic – Healthy Fats – Low Carb – Keto Inspired Food Enthusiast | Cocktails | Printables
I am a stay-at-home- mom, living in KY with my husband and children. I’m a travel and lifestyle blogger encouraging folks to live their life one adventure at a time while also focusing on beauty, essential oils and health. From time to time I also like to showcase my adorable pets along with my family. Along with Cinnamon Hollow I can be found at The Martin Family Adventure … read more


