Installing solar panels can seem complicated and expensive. But with some basic materials and following these step-by-step instructions, you can build your own affordable solar panel system right at home. Constructing it yourself allows you to fully customize your solar setup. In this DIY guide, we’ll walk you through everything you need to know to create solar panels from scratch and harness renewable energy from the sun.
Gather the Needed Materials
Before you build your own solar panels, you’ll need to gather some key components. These include a solar cell kit, a protective casing, wires, a charge controller, an inverter, and batteries. You can source many of these affordably online. Ensure all your materials are rated for outdoor use and your wiring can handle your solar setup’s voltage and amperage.
Assemble the Solar Panel Frame
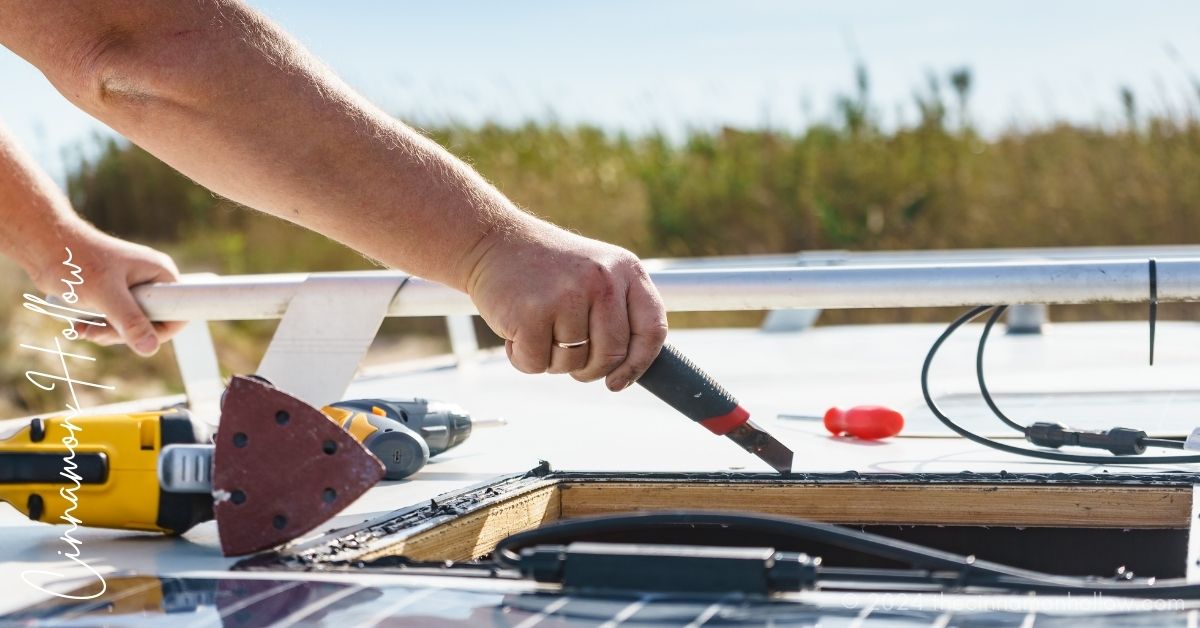
With your materials sorted, it’s time to start building. Start by constructing a rectangular frame for your solar panel using sturdy wood. This frame encloses and protects the interior components. It’s recommended to use pressure-treated 2X4 lumber for durability. Match the frame’s dimensions to the size of your solar cell kit.
Install the Solar Cells
Now carefully install your solar PV cells inside the panel frame. Using the included tabs and strips, connect all the cells together into strings. Make sure cell orientation and overlaps match the kit instructions for optimal efficiency. Also, verify that all connections are electrically conductive before moving to the next step.
Wire Up the System
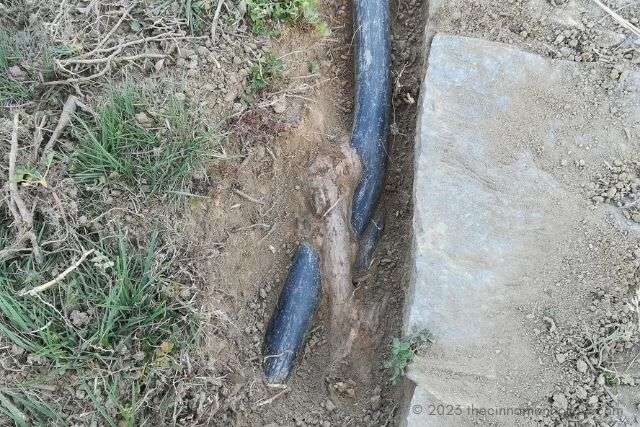
Your solar cells alone can’t power devices – they need to link into a full system. Start wiring by connecting the positive and negative leads from your panels to a solar charge controller. Use copious cable clips and insulated wiring rated for the load. From the controller, run more wires to link with your inverter, batteries, and appliance hook-ups.
Weatherproof for Safety
This DIY solar panel will live outdoors, so weatherproofing protects the system. Seal all wood surfaces with exterior primer and waterproof stain. Check the connections are tight and the wires are fully clipped in place. Finally, affix a transparent protective casing like plexiglass over the panels using an outdoor silicon caulk. Add extra panel bracing if desired.
Choose a Mounting Method
There are several installation options like rooftop mounts, pole mounts, or ground mounts. Your solar panel’s mounting method depends on your location, roof type, and local building codes. Proper orientation is also key – adjust it to face direct south if possible. You can choose pole-mounted panels which avoid roof work and are easily adjustable if you like.
Power Up!
Once the wiring and mounting are complete, it’s time to test your new solar system! On a sunny day, connect the batteries and try powering a small test load like a light bulb. If this is successful, slowly add more load capacity and additional panels if higher wattage is needed. Troubleshoot any issues and repeat insulation testing until all is working correctly.
Enjoy Your Creation
With that, go enjoy your fully functioning homemade solar panel system! Take pride in creating your own affordable, custom energy solution. You can now reap the rewards for years to come through enhanced self-sufficiency and lower electric bills. Your DIY solar project shows that sustainable energy independence is possible right in your own backyard!
Travel Lover | Pet Mama | Beauty Junkie | Low Glycemic – Healthy Fats – Low Carb – Keto Inspired Food Enthusiast | Cocktails | Printables
I am a stay-at-home- mom, living in KY with my husband and children. I’m a travel and lifestyle blogger encouraging folks to live their life one adventure at a time while also focusing on beauty, essential oils and health. From time to time I also like to showcase my adorable pets along with my family. Along with Cinnamon Hollow I can be found at The Martin Family Adventure … read more