Since joining Trim Healthy Mama (affiliate link), hard boiled eggs have become a staple in my home. They are perfect grab-n-go snacks, easily portable and can be eaten on the run. They are packed full of protein. Since getting an Instant Pot for Christmas, I’ve found the quickest and easiest way to make Instant Pot Hard boiled eggs. And with that discovery, I’ve mastered my Deviled Eggs recipe to bring you Instant Pot Deviled Eggs! WOOT! WOOT!
I am a THM affiliate and I will make a small commission when you purchase through my links, with no additional fees passed on to you.
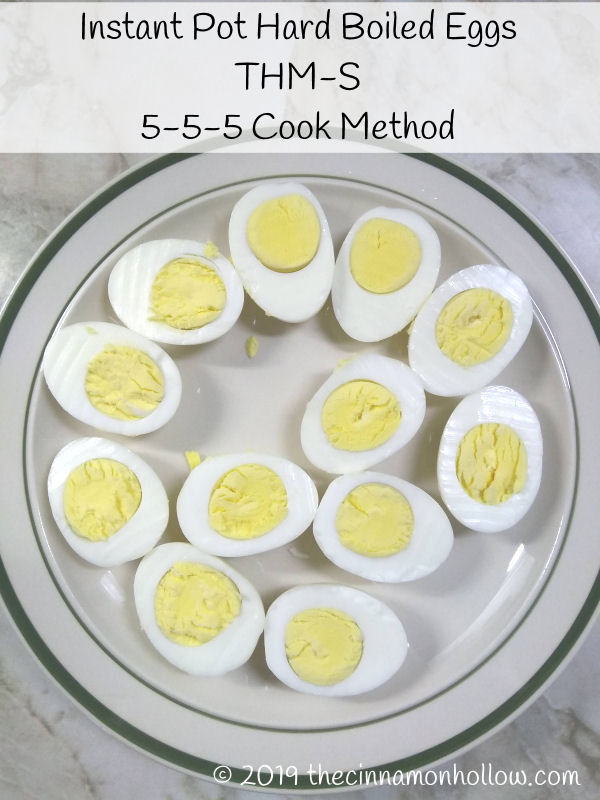
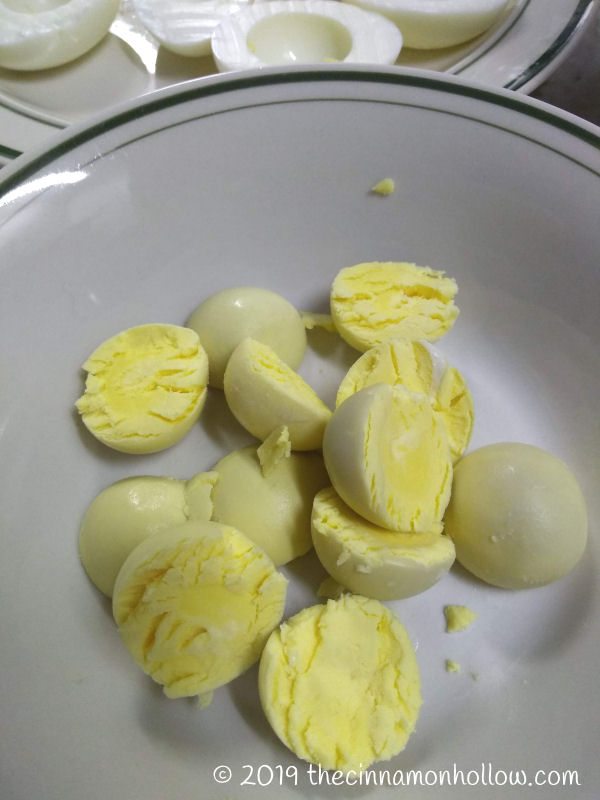
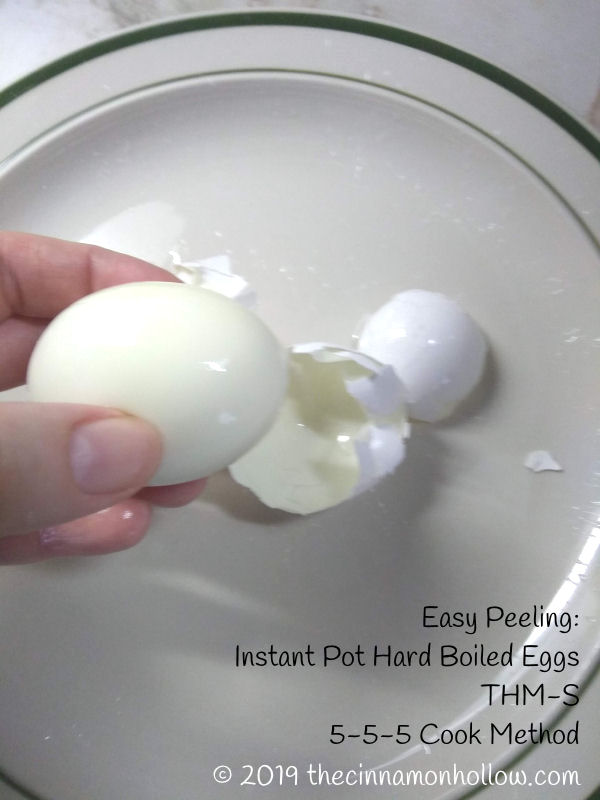
Cooking your hard boiled eggs in the Instant Pot doesn’t shave off any time, but it does make them incredibly easy, basically fool-proof and a breeze to peel. Plus, the yolks come out gorgeous! No dark green outsides from over-boiling. They are golden, round and delicious! I use what is known as the 5-5-5 method and my Instant Pot Hard Boiled eggs come out perfect every time.
(full instructions and recipe cards at the bottom of this post)
Instant Pot 5-5-5 Method
This means that you will set your manual cook time to 5 minutes. Then you will let the pressure natural release for 5 minutes. Then you will finish releasing the pressure manually (and very carefully) and then immediately place your eggs into an ice water bath for an additional 5 minutes.
This method has not let me down and the eggs have been incredible easy to peel every time. No bits of shell left on the eggs. No stuck on shell. With a couple cracks on the counter, the shell peels right off, every time.
I like hard boiled eggs with a very set center, so if you like yours more soft-boiled, maybe try 4-4-4. I’m not sure on this because I do NOT like soft boiled eggs. I like my yolks set. So you may want to experiment a little with that or look on Pinterest for soft boiled eggs.
It does take some time for the pressure to build up in the Instant Pot so 5 minutes cook and 5 minutes natural release isn’t the TOTAL time. Plan on adding 5 – 10 minutes for the pressure to build. Cold water can take longer. We only use bottled water for cooking here because we have a cistern, so our water is always room temperature. I’d say it takes about 8 minutes for the pressure to fully build in mine and then the 5 minutes cook time starts.
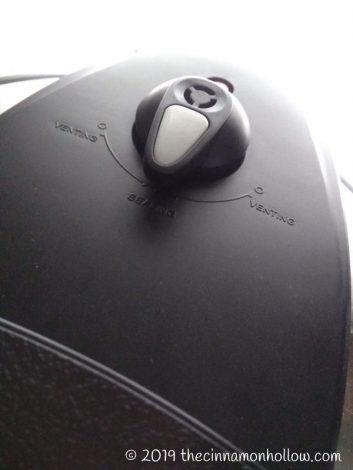
Once it is done and the Instant Pot begins to beep, set a kitchen timer/phone timer for 5 minutes. Once that 5 minutes is up, CAREFULLY turn the valve from the sealing position to the venting position to finish releasing the pressure. When the pin drops, it is safe to open your Instant Pot.
PLEASE BE CAREFUL! Follow the manufacturer instructions in your own pressure cooker for manual release! This is just a guideline for how mine works.
With that said, the easiest and safest way to release the pressure is with a long handled spoon. I still, usually, wear a long silicone oven mitt as well. If you’d like to make sure the steam doesn’t spray, you can also place a tea towel over the vent before using the spoon handle to turn it from sealing to venting.
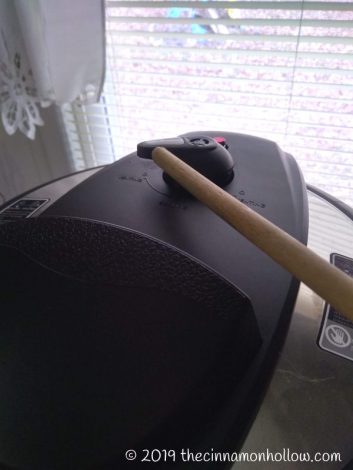
With just a wooden spoon 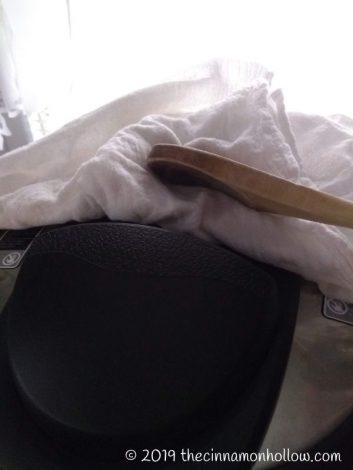
Using a tea towel over the vent
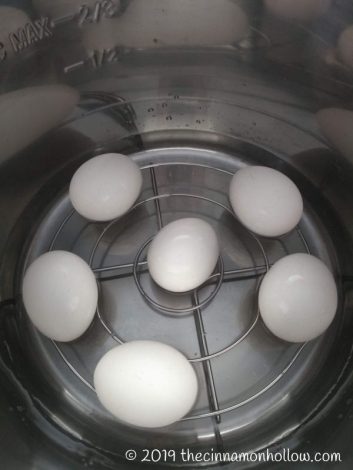
To begin, place the trivet that came with your Instant Pot into the insert. Alternatively, you can purchase an egg rack specifically for IP. (I like this and this – affiliate links) After placing the trivet in, add 1 – 3 cups of water, depending on your model. I have the 8 qt Instant Pot Lux and mine recommends no less than 3 cups of water. I feel like this is a good amount for hard boiled eggs. So, I add 3 cups of room temperature water.
Then, I gently place my eggs on the trivet. 6 – 8 fits perfectly in a single layer but you can stack them. The shells may crack a little while cooking but this has never caused a problem with my end results.
Once your eggs are places on the trivet, place the lid on your Instant Pot. Make sure the valve is in the sealing position!
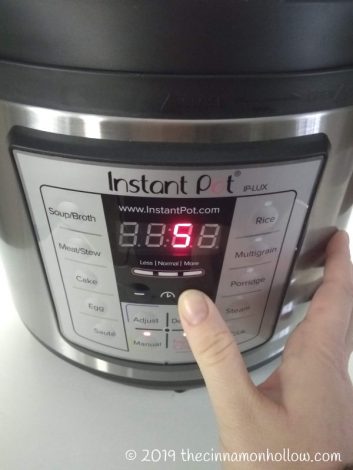
Then, push the “manual” cook button and adjust the time for 5 minutes.
Walk away.
The pressure will build and your eggs will cook. Once you hear the Instant Pot beeping, set your phone or kitchen timer for 5 minutes. Once that time is up, use your long handled spoon to turn the valve to venting and let the pressure finish releasing.
DO NOT TOUCH IT!!!!
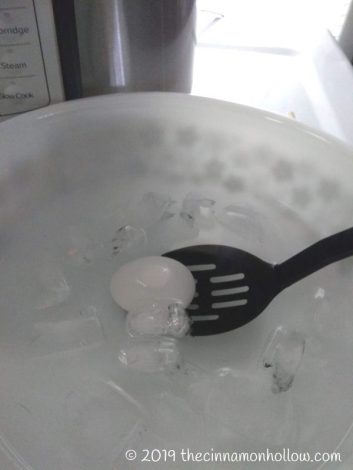
While it is releasing the remaining pressure, prepare a large glass bowl with ice water.
Once the pressure is released and the safety pin has dropped to the safe position, carefully open your Instant Pot, avoiding hot liquid, and use a slotted spoon to lift your Instant Pot Hard Boiled Eggs into the ice water bath.
Let them sit there for another 5 minutes to cool. They should then peel very easily!
Now you can enjoy your delicious, quick and easy Instant Pot Hard Boiled Eggs!
Instant Pot Deviled Eggs
Ingredients
- 6 Hard Boiled Eggs (yolks removed and placed in bowl)
- 3 tbsp Dukes Mayo (or your favorite brand)
- 1/4 tsp Creole Seasoning (I prefer Tony Chchere’s brand)
- 1 tbsp Chopped Dill Pickle (about 5 hambuger slices chopped)
- 1/2 tsp Dill Pickle Juice
- 1/8 tsp Paprika (plus more for sprinkling)
Instructions
- Remove yolks from hard boiled eggs. Set egg whites aside.
- In mixing bowl, mash egg yolks wit a fork until smooth.
- Add remaining ingredients and mix until smooth. I just use a fork, smashing and mixing as I go.
- Using a small spoon, scoop a small amount of egg mixture into each egg white, spreading with back of spoon until covered.
- Sprinkle each egg with a tiny bit of paprika.
- Refrigerate until ready to serve.
- Will keep in refrigerator for about 2 days.
Nutrition
Leave us a comment, below, if you try either of these yummy recipe! What model is your Instant Pot or brand of pressure cooker?

Travel Lover | Pet Mama | Beauty Junkie | Low Glycemic – Healthy Fats – Low Carb – Keto Inspired Food Enthusiast | Cocktails | Printables
I am a stay-at-home- mom, living in KY with my husband and children. I’m a travel and lifestyle blogger encouraging folks to live their life one adventure at a time while also focusing on beauty, essential oils and health. From time to time I also like to showcase my adorable pets along with my family. Along with Cinnamon Hollow I can be found at The Martin Family Adventure … read more