Back in the summer, my sister-in-law and I decided to give ourselves mermaid hair for our trip to the beach. She has blonde hair so she was all set to color. I had a crap ton of brown dye in mine. It had gotten too dark and needed to bleach it to get the colors as bright as I wanted. Oh boy!
This is a long post with several pictures of the process to get my hair blonde enough for DIY Mermaid Hair. Instructions on doing your own Mermaid Hair are also in the post so please bear with me and welcome to 75 shades of Crystal’s hair! lol 😀
Ok, so I started with brunette hair that had been colored at home using a store bought John Freida hair dye.

I’ve always colored my own hair, including highlights and lightening kits so I knew it would take a couple of applications to get it super light. I was ready to try platinum blonde. This was a HUGE change from my usual brunette. I’d never had hair that light blonde before but I wanted something drastically different under the Mermaid Hair.
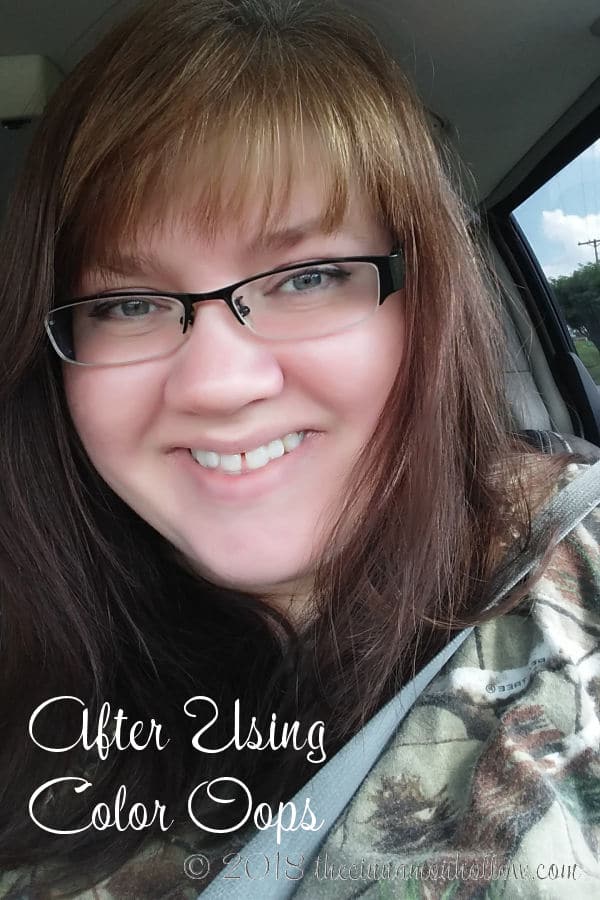
I started out by using Color Oops to get as much hair dye out as possible. It made my hair really dry and didn’t remove all the color the color! The top of my hair was a little lighter but the lower part was still pretty dark, as you can see in the photo. I felt it was too drying to do a second solution. Personally, for me, if you have a LOT of dye in our hair like I did then I do NOT recommend this product! For me, it was a waste of time, money, water because you have to rinse for 30 minutes and hair health. It really messed with my hair. If you’ve colored your hair for the first time and don’t like it, then this will probably work to strip the color out. Know that it will dry your hair out regardless, but it will remove most of first time use color. In my case, one time just wasn’t going to get it all out.
At this point, I decided to document this process so I could look back and remember the steps I took. If it worked well I’d remember how to do it again. If it turned out horribly, I’d have a reminder to never try it again! So I took pictures of each step. Which was weird because I don’t do many selfies without Clay or the kids in the photo. SO having all these photos of myself on here feels really weird!
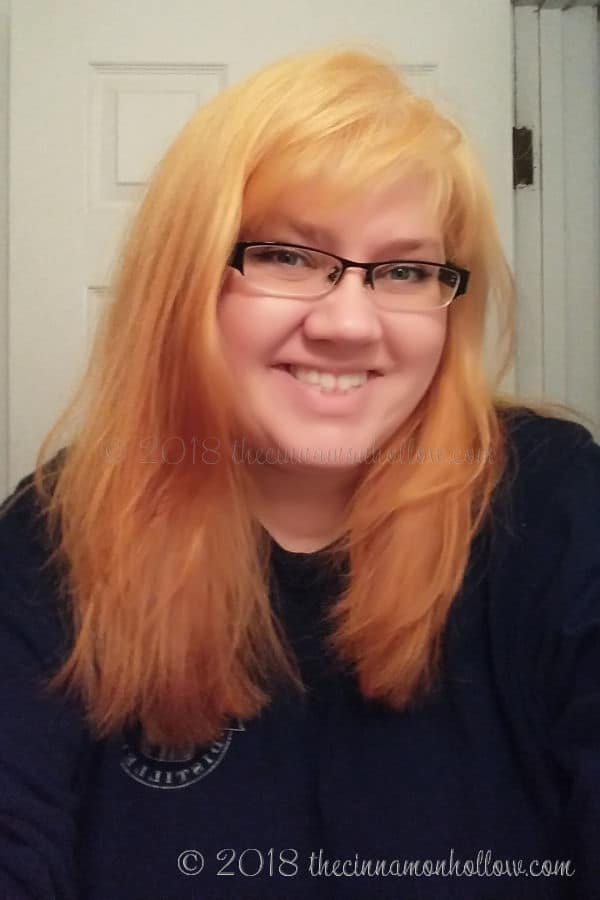
Ok, so the next step was bleaching it with an at-home bleach kit, leaving it on the maximum time in the directions. It came out bright orange! I wanted blonde hair, not red-orange ombre that is light at the top and dark on the bottom! This may look kind of cool during the fall but I needed it blonde. I may be smiling in the picture but I was so disappointed. When it was time to rinse, it honestly looked really light. I was shocked at how dark it still was, especially at the bottom.
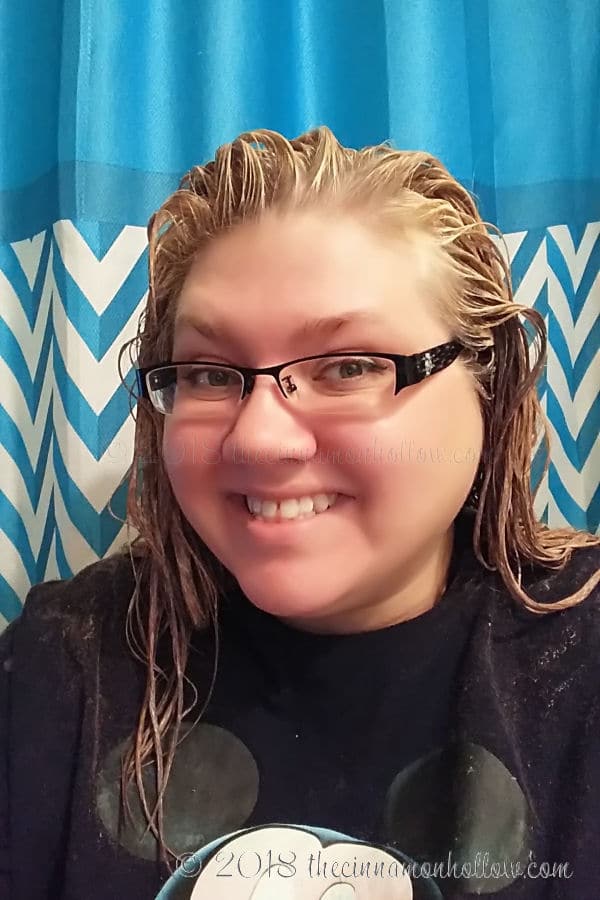
A stylist friend of mine said it seemed healthy enough to try again the next day, and to leave it on until it was as light as I wanted it. I left it on til it was almost white looking. When I rinsed, my hair was yellow. Darker at the bottom and lighter on top but still not the light blonde I wanted. I looked like a banana. It just would not go blonde! Needless to say, I was not happy. In fact, I locked myself in the bedroom for a little while and had a good cry.
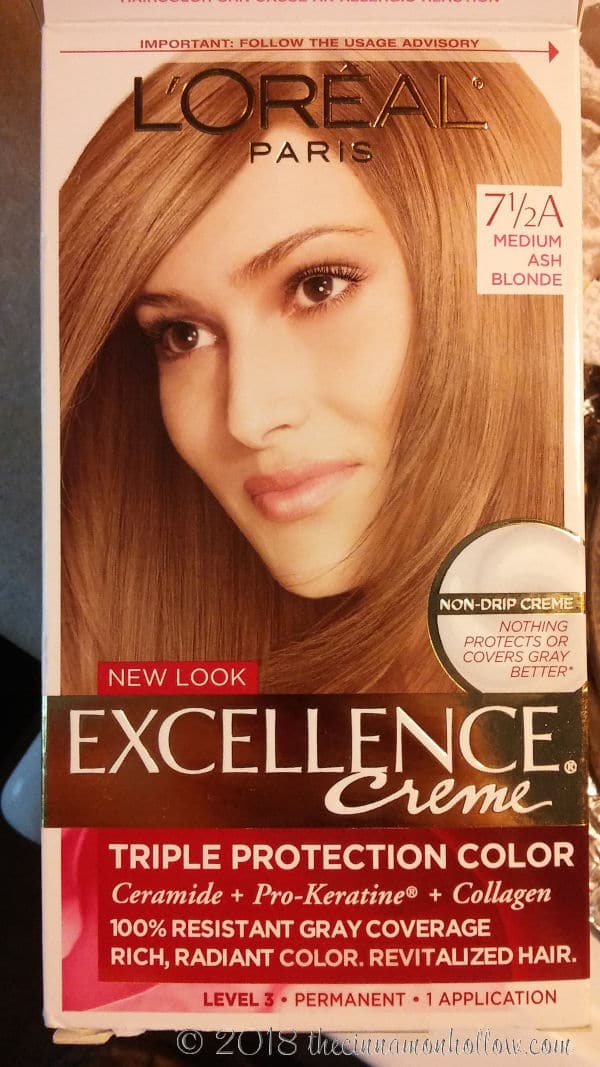
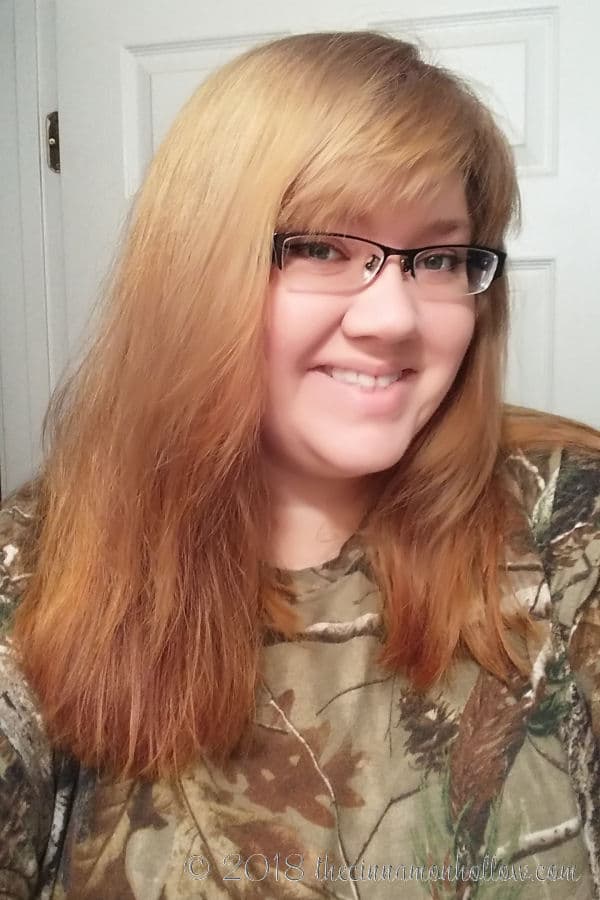
My hair has a lot of natural red/copper so apparently it will now always go orange or yellow when I bleach it at home, although it didn’t as a teenager. I think the hair dye build up that was in my hair played a role in that too. By this time I was terrified that I’d fried my hair and would be stuck with this awful color, although it still felt pretty soft. It wasn’t gummy and bounced back when I pulled on it but it was very dry. So I waited a few days and decided to tone it with a medium ash blonde. I’d given up on the platinum and was just happy to have it lighter. I really liked the color it came out too. I was happy with it.
Let me stop here for a minute…
and say that you should NEVER remove color, bleach your hair twice and dye it in the same WEEK. Please wait a few weeks or even months in between treatments and deep condition it each time and in between. I didn’t have that luxury because this was, like, a week and half before our trip! I got lucky. Very lucky!
Ok I’d achieved a blonde I liked but my hair was super dry. Like, desert dry. I did several conditioning treatments with coconut oil and argan oil. It helped but it was still very, very dry.
I actually wasn’t worried about doing the mermaid hair because we were using a temporary color that is gentle on the hair. I believe it is plant based? But I’m not sure. I did know for certain that it wasn’t going to cause any more damage to my hair so I felt like after everything else, I might as well finish what I’d started! We used Jerome Russell Punky Colour in Lagoon Blue, Turquoise and Purple. (affiliate link)
I did my sis-in-law’s hair and she did mine. We used a foam paint brush and latex gloves. We would section the hair and either brush the color on or rub it in with our gloved fingers, then cover the section with tin foil. Then we let it sit for about an hour. (full directions below)
We looked like a couple of goofballs with our hair full of foil, but it was fun and the Punky Colour smells so good! Like berries!
While we waited I put some on my daughter’s hair too. They were so excited to have purple, turquoise and blue streaks for their first trip to the beach. I even did a turquoise streak in my mother-in-laws hair! I don’t think she cared for it too much, though. 😉
Once the Punky Colour had set for an hour or so we rinsed it with cool water. By the time we were finished, the bathtub was a colorful mess! It washed out easily, though.
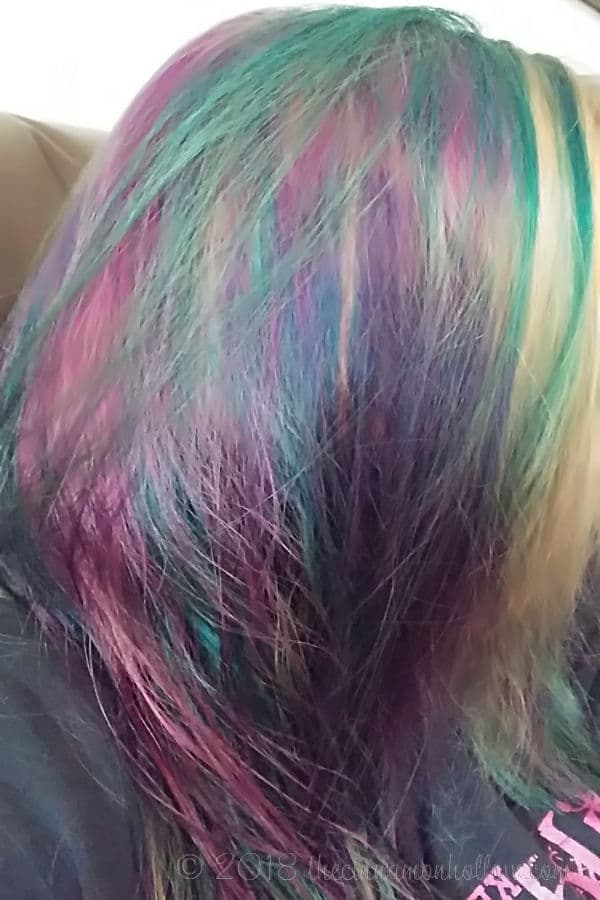
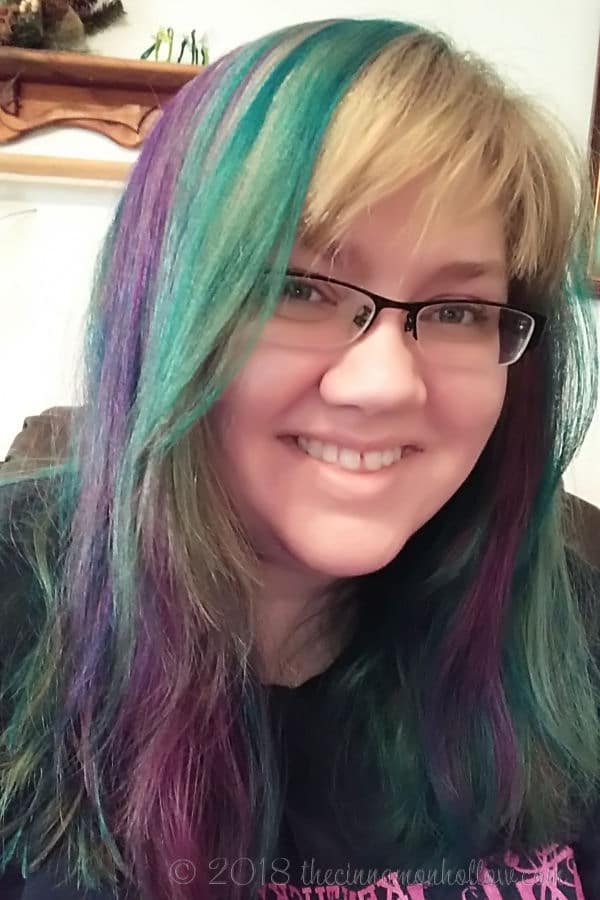
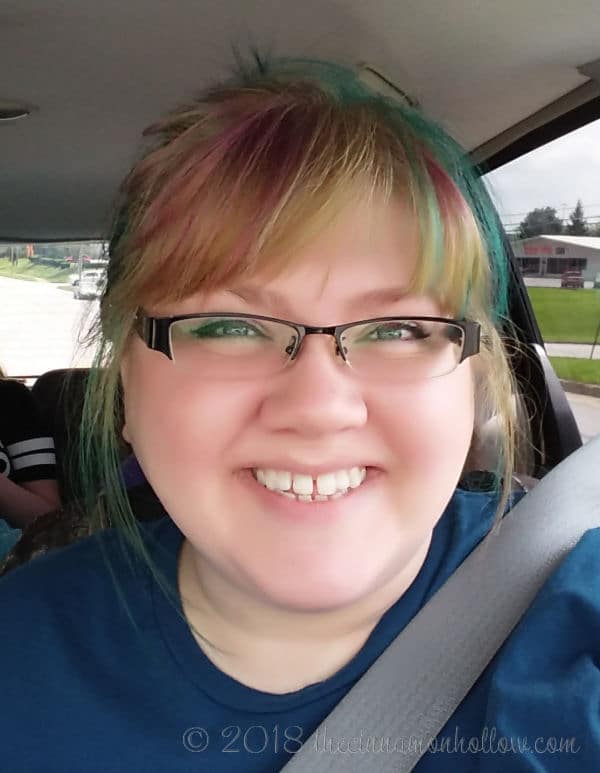
I think our mermaid hair turned out pretty good, if I do say so myself. I left my bangs blonde with just a couple streaks that washed out fairly quickly (the bangs).
One thing about the Punky Colour, though, is that it does NOT wash out in 20 – 40 shampoos! We got in the ocean, beach house pool, shower, etc every day and 4 months later it was still really bright!
To lighten it up I tried clarifying shampoo and dandruff shampoo. The clarifying shampoo lightened it slightly. The dandruff shampoo seemed to take more out. Because my hair was so dry from all the bleach, the dandruff shampoo was really hard on my hair and made it very coarse and dry. It would get so stiff and clumped in the shower that I could barely pull my hands through it to rinse. Then I had to condition it for 20 minutes to even be able to brush it. So I gave up.
By the 4 month point, my roots had grown out horribly (remember I have brown/red/grey hair) but the mermaid hair color was still hanging on. We were set to close on our homestead that month and I didn’t want to be part rainbow headed, part blonde, and part brown with grey roots so I decided to go ahead and use a light ash blonde in the same brand I’d used before to at least get my roots touched up. Because, otherwise, I looked like a box of crayons had exploded on my head. It had to go!
The blonde had actually gotten lighter and lighter as time went on. I don’t know how. I don’t know why. But the remaining blonde had lightened up to a fairly light shade! Maybe from the sun?
This is the light ash blonde I decided to use to remove the rest of the Mermaid Hair color.
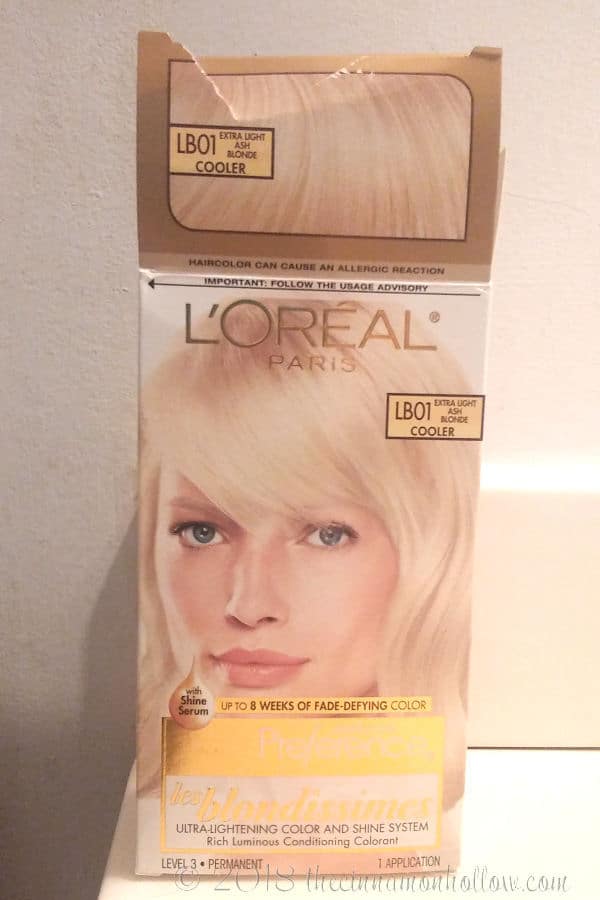
I knew the colors could turn different shades from the hair dye but I had to do something. To my surprise and delight, it removed the remaining color from my mermaid hair! As much as I loved the mermaid hair, while we were at the beach, I was so thankful to finally have it out of my hair! It also took it super light. Like, SUPER LIGHT! TOO LIGHT! I do NOT look good with platinum-y blonde hair! My complexion is just too red for that.
BUT, I did finally get it to the color I was after, even if I didn’t like it in the end.

Sadly, my hair was ruined and I didn’t like the color- once I’d finally gotten it to the shade I’d been after all along. Lesson learned!
My roots grow out super fast and even though the mermaid hair color held on tight, regular hair dye fades quickly from my hair. So I have to color it often (once per month) if I want to keep the grays covered. I waited another month before coloring it again. I did a medium ash blonde that I really liked. Sometimes it looked dark blonde and sometimes light blonde. I like how it transformed in the light/shadow. It’s strange but these next 2 photos are the same shade!
The next month I couldn’t find the medium ash blonde so I got the dark ash blonde instead. I really liked the shade of it too. I think it came out really pretty.

The Loreal seemed to be what was so hard on my hair, though, which made me very sad because I LOVE the shades they have. So when it was time for my next touch up, I decided to just use the John Freida I’d always used in the past. It was always super gentle on my hair. All they had was the brown I’d usually used which I didn’t want but I couldn’t find any sort of ash blonde in the foam. It’s harder to maintain than blonde because I have so much grey and it tends to really build up and get darker and darker, so I’d like to eventually get it back to the dark blonde. I like that color on me. But I won’t be bleaching it to do so and it will be a long while before I try the blonde dye again.
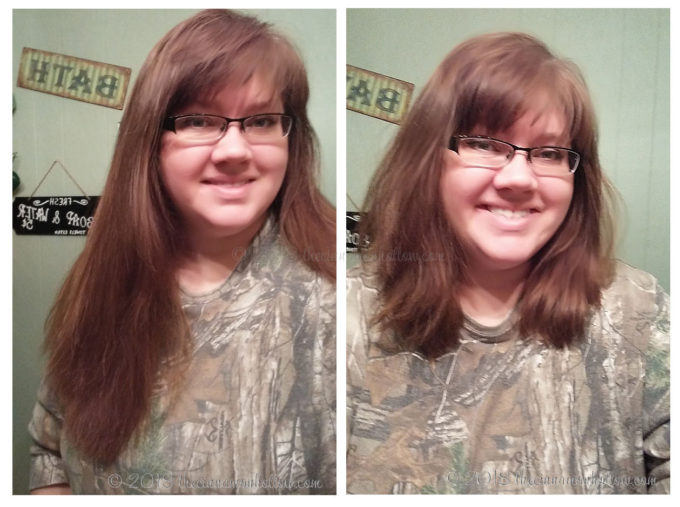
My hair health has really taken a beating since summer so after 7 months of dry, damaged hair, I finally got fed up and took the scissors to it this week. I know absolutely NOTHING about cutting hair but I get scissor happy from time to time and just start chopping on my hair. I cut about 5 or 6 inches off, getting rid of a lot of the damaged hair.
If your hair is already short and you want it to be longer, quickly, check out these hair extensions for short hair.
There’s still a few inches of damage so I’ll be doing the coconut oil and argan oil treatments to condition it. It feels so much better and looks healthier already! I don’t care for the color so I’m hoping the dye will fade back to the dark ash blonde and lose some of that orange-y tone that I hate.
This year, if I get a “wild hair” to add funky colors into my hair, I’ll only be doing the tips and quite possibly just over the brown! Hair bleach is not my friend! lol
If you want to do your own mermaid hair at home, here are some tips and how to’s.

Things you’ll need:
- Jerome Russell Punky Colour in various shades. Available at Ulta and Amazon

(affiliate link)
- Latex Gloves
- Foam craft brushes
- Paper towels – it gets super messy!
- Aluminum foil strips
- Garbage bag or cape to cover clothing
- Hair clips
- Hair brush and rat tail comb
How to create your mermaid hair:
- The day before coloring, wash hair with a clarifying shampoo to remove any build-up. This helps color adhere better. If you need to lighten your hair do this a day or two ahead of time and give your scalp time to rest.
- When you’re ready to color: Cover your clothes with a garbage bag or cape. We just cut a hole in a garbage bag for our head and then pinned it with clothes pins to keep it on. It worked well.
- Start by brushing your hair out super smooth. Using hair clips, part your hair into 4 sections and pin up 3.
- On the first section, use your rat tail comb to pull up a section of hair about an inch wide.
- Place foil strip beneath strip of hair.
- The color comes in little plastic tubs and can be used right out of the jar. No mixing needed!
- Brush or rub with gloved hands the color of your choice onto the section of hair from root to tip.
- Fold foil strip over and roll up.
- Use comb to pull up a second section and repeat previous steps using a second color.
- Continue repeating the steps above, alternating colors until the first section is done.
- Then repeat on the other 3 sections. If you are just doing the tips, rub it in with your gloved fingers, blending up the hair shaft as you go so you won’t have blocks of color lines.
- Leave color on hair for at least 30 minutes. The longer you leave it on, the better it will take. You can even wear a shower cap and leave it in over night if you choose! Keep in mind that anything it touches will be dyed so be careful.
- Rinse with cool water until water runs clear. Cool water helps set the color. Warm or hot water will make it fade faster.
- Enjoy your mermaid hair!
Have you ever bleached your own hair at home? What about fun, funky colors or mermaid hair? How did it turn out?
Shop The Post:






Love this!
Thank you!
I have brown hair but your story makes me still want to try it. In the end your hair still looked pretty…once you dyed it back. Your story was well told, thanks for being so real.
Well written and I was able to follow your directions and achieved the mermaid look to my liking. Thank you for the tutorial.
I found the sources and references you cited highly valuable. Thanks for supporting your claims!