Cookie cutters aren’t just tools for baking cookies; they’re instruments of creativity that allow you to transform ordinary dough into edible masterpieces. Whether you’re a seasoned baker or a novice in the kitchen, mastering techniques with cookie cutters can add an extra layer of charm to your baked goods. In this blog post, we’ll explore some simple yet effective ways to elevate your baking game using these delightful tools.

Choosing the Right Cookie Cutter
Selecting the perfect cookie cutter sets the foundation for your baking adventure. Look for sturdy options made from materials like stainless steel or food-grade plastic. Opt for shapes that resonate with your theme – be it holidays, animals, or everyday objects. A well-chosen cutter ensures clean edges and easy release, resulting in picture-perfect cookies.
Chilled Dough for Crisp Edges
To achieve precise shapes, it’s crucial to work with chilled cookie dough. After rolling out the dough to your desired thickness, pop it into the refrigerator for about 15-30 minutes. Chilled dough holds its shape better during the cutting process, preventing distortion and ensuring sharp edges.
Flour Power for Smooth Cutting
Coating your cookie cutter with a thin layer of flour before each cut prevents sticking and makes the release process smoother. Dusting a little flour on the dough’s surface also aids in maintaining the cutter’s clean lines and intricate details.
The Perfect Press
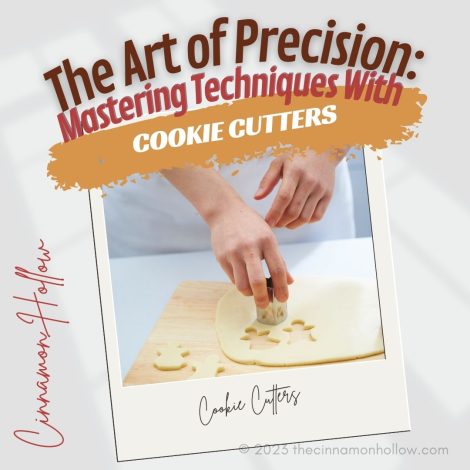
When it’s time to cut, apply even pressure to the cookie cutter without twisting it. A gentle press downward ensures the dough is evenly cut, preserving the intended shape. Twisting the cutter can distort the edges and make your cookies lose their precision.
Removing Excess Dough
Once you’ve cut out your desired shapes, carefully remove the excess dough from around the cutter. A gentle tap or a slight wiggle can help release the dough cleanly. Gather the excess dough, reshape it, and chill it again before re-rolling and cutting.
Transferring Shapes to the Baking Sheet
Use a thin, flat spatula to lift the cut-out shapes from the work surface and transfer them to the baking sheet. This step requires a delicate touch to maintain the cookie’s integrity and prevent any deformities.
Imprint Details for Character
Enhance the charm of your cookies by adding intricate details. Use smaller cutters or tools to imprint patterns, faces, or textures onto the main shape. This simple technique can transform your cookies into visually stunning treats.
Partial Cutting for 3D Effects
Take your cookie creativity up a notch by utilizing partial cutting. Instead of cutting all the way through, apply gentle pressure to create indentations within the shape. After baking, these indentations become more pronounced, adding depth and dimension to your cookies.
Elevate Your Baking Craftsmanship
Cookie cutters are versatile tools that allow you to unleash your artistic side in the kitchen. With the right techniques, you can create cookies that are not only delicious but also visually captivating. Remember to choose high-quality cutters, work with chilled dough, and handle the cutting process with care. By incorporating these simple yet effective tips, you’ll be well on your way to mastering the art of precision with cookie cutters and impressing everyone with your delectable creations. Happy baking!


