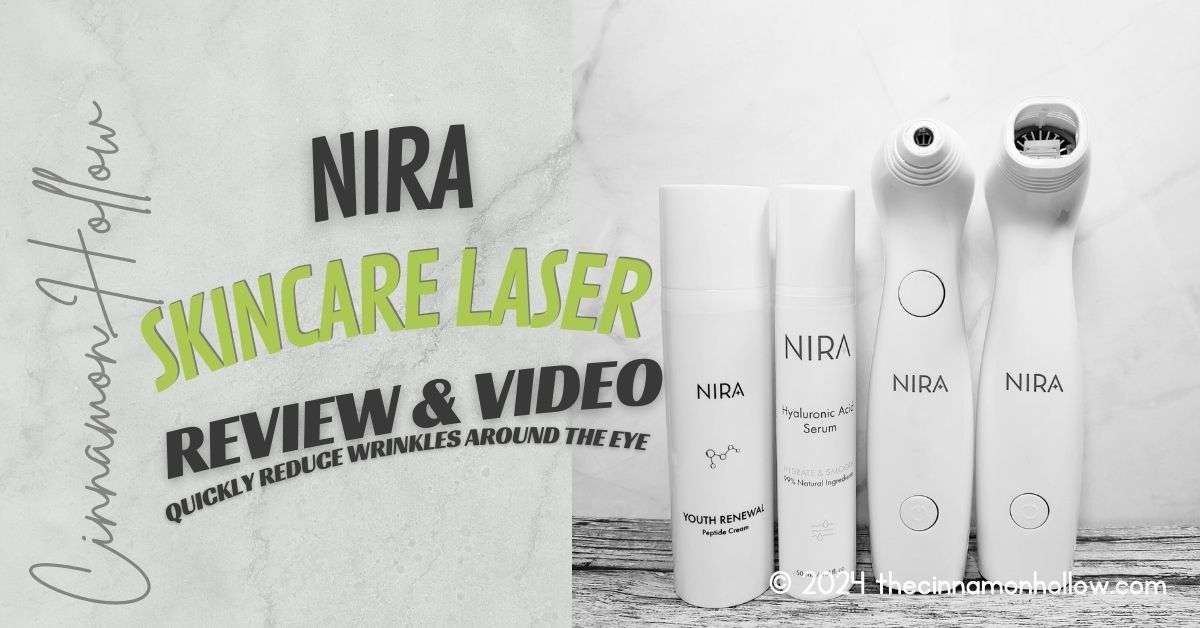
I recently received a NIRA Skincare Laser to test and review. I won’t have my final results for a couple months, but I wanted to show you my first try using the NIRA Skincare Laser as well as give you some info on the device itself. So, here is my NIRA Skincare Laser review and video! (video below)
I received a complimentary device to test and keep. All opinions are my own and were formed through personal use. Your results may vary. I do like the NIRA Skincare Laser enough to join as an affiliate. I will earn a small commission to help offset our website costs, at no additional cost passed on to you, when you make a purchase through my link.
When I first received the NIRA Skincare laser, I was a little terrified to use it! I mean, it’s a laser that will be used around my eyes! It produces pulses of heat, so I think it was pretty natural to be a bit scared. Or a lot scared, in my case.
But, I really wanted to give it a try and see if it helps with beginning wrinkles, fine lines and the puffiness I get around my eyes. My puffiness is typically the result of seasonal allergies, but I want to see it this helps.
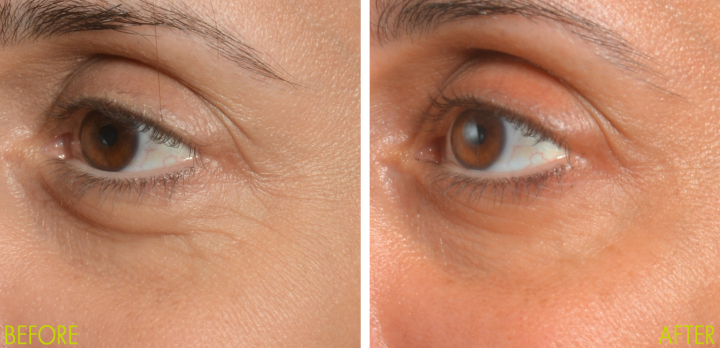
This is NOT my before and after. It is one provided by NIRA, but it’s the one that made me feel this may really help with the puffiness in my own eye area!
This periorbital laser, works by sending a pulse of heat through the layers of skin, causing your own body to rebuild it’s natural collagen, which then plumps the skin, reducing wrinkles.
There are several levels of heat, and you start with the lowest and work your way up until you find the right heat level for you. You want to feel the warmth but not be too hot. For me, that was the lowest setting.
Also, on my right eye, I feel I could have had an even lower setting. It wasn’t uncomfortable, but I definitely felt it. I was able to go to level 2 on my left eye, but would not have been able to on my left. So you may definitely need to play with the settings, per eye.
It’s very easy to change the heat settings, though. You just push the button until it’s on the one that works for you. It only takes about a minute per eye. Not long at all for the full treatment process!
Then, you place the NIRA Skincare Laser against your skin, beneath your eye and push the button. You want to hear 2 short beeps. If there is a different sound, you didn’t have good skin contact and need to repeat. You’ll continue to do this across and then another row below that and a third row below that, depending on your treatment area. I only needed to do 2 rows and then a couple more areas in the crows feet area.
I’m not gonna lie, I was SCARED to use it at first! But I went with it and it wasn’t uncomfortable. You do, definitely, feel the warmth from it, but it doesn’t burn and it doesn’t hurt. I only experienced any sort of discomfort, once and I believe I repeated the process over the same area more than once, which was just too much on one spot.
I’ve been using it daily and haven’t had any problems, so far, with redness, dark patches, irritation or anything like that. And I’m becoming more comfortable using it and not pulling it away so quickly.

After I do the laser treatment, I follow up with the NIRA Hyaluronic Acid Advanced Serum. It is for your entire face and neck but I prefer to use it just on the treatment area. I feel it soothes and replenishes moisture, making the eye area look even better.
More NIRA posts here and here.
Save 10% On your NIRA Skincare Laser with our affiliate link!

NIRA Skincare laser
Details
Save 10% when you shop through my link or use my code: CINNAMON
Disclaimer:
This post contains affiliate links.
10% OFFSave 10% when you shop through my link or use my code: CINNAMON
Disclaimer:
This post contains affiliate links.
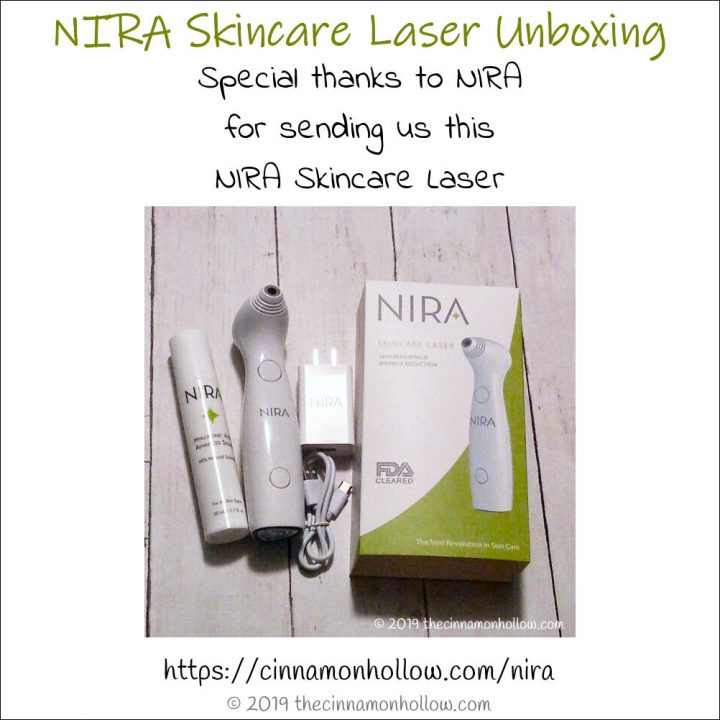
Our NIRA unboxing video here.

Check out our Beauty videos below!

Travel Lover | Pet Mama | Beauty Junkie | Low Glycemic – Healthy Fats – Low Carb – Keto Inspired Food Enthusiast | Cocktails | Printables
I am a stay-at-home- mom, living in KY with my husband and children. I’m a travel and lifestyle blogger encouraging folks to live their life one adventure at a time while also focusing on beauty, essential oils and health. From time to time I also like to showcase my adorable pets along with my family. Along with Cinnamon Hollow I can be found at The Martin Family Adventure … read more


Has Nira been proven to helpful to help a sagging chin or jaw? I have seen people write about its use around the eyes exclusively? Thank you
I sure repeated myself…Sorry
Hi Mary,
tehehe no problem. I repeat myself all. the. time! 😁
I, honestly, don’t know about using it on the chin or jaw line. The instructions say specifically around the eye. You could maybe email the folks at NIRA and ask? I’m sorry I wasn’t more helpful.
Hi! I am a representative for NIRA and we would be delighted to address any questions! Please call us at 978.326.7700.
Thank you!
I have not started , but need guidance I use as well NUFACE , so do I use NIRA BEFORE OR AFTER OR DO NUFACE AM ? And NIRA PM
KINDLY ANSWER ME SINCE I WANT TO TRY IT IF POSSIBLE TODAY
Hi Mira,
I’m sorry, I’m not familiar with NUFACE. I recommend reaching out directly to the folks at either company (Nira or NuFace) and see what they recommend.