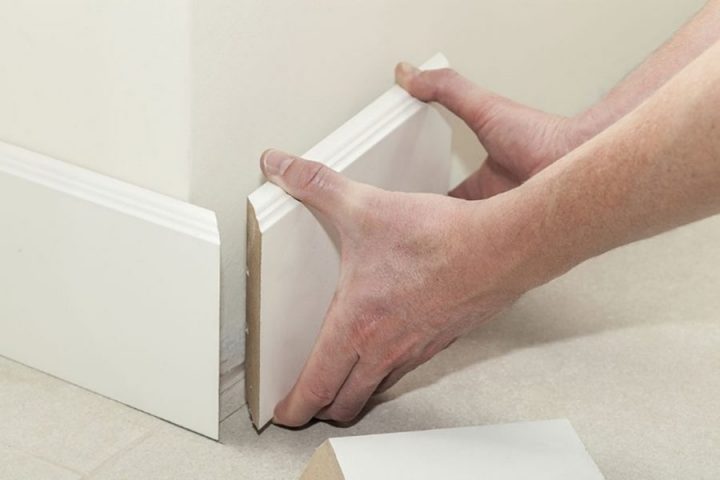
Skirting board which is otherwise called baseboard is a board that is used for edging and made to run along the lower part of the walls of a building. It is typically used in the interior of a house and covers the joint between the wall and the floor. In some places, it is known as mop boards. This is due to the fact that it helps to prevent stains and water from mop heads when you mop the floor. MDF panelling kit protects the lower part of the wall from all these.
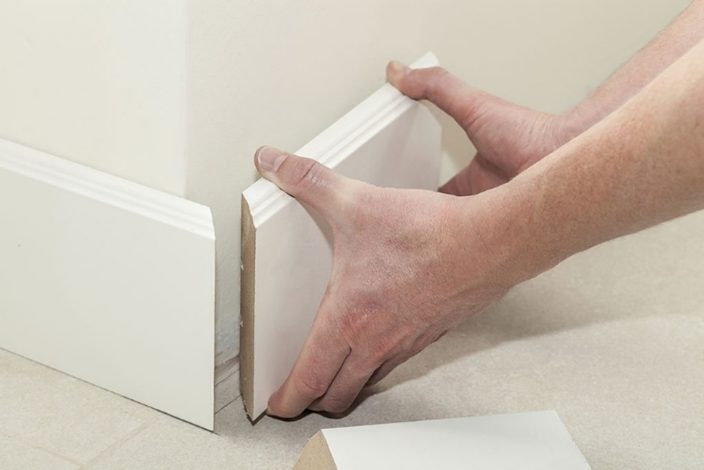
It is typically used as a form of wall protection from scratches and to hide unsightly features. In modern times, it has taken up the role of interior décor and beautification in addition to its previous functions.
Types
Different kinds of skirting exist and they are:
- Wooden
- Metal
- Pencil
- Flush
- Continued
- Double layered
You can find more information about it here.
Why Skirting is Important
Baseboards these days help to give a room a good finish but much more than that, here are a few reasons why it is used:
Prevention of Wall Damage
It is normal for the lower side of an interior wall of a building to experience various kinds of hits. From foot stains to mop stains, and children playing around with bicycles as well as toys. It could also be as a result of heavy furniture such as beds, chairs, tables, etc. causing abrasion to the lower part of the wall.
All these can lead to defacing the wall through chipping, scratches, or stains. Skirting protects the lower part of the wall from all these. The impact of all these contacts does not affect the board like they would affect the wall. Even if they do, it is easier to paint or replace the board than the wall.
Hiding Unpleasant Sights
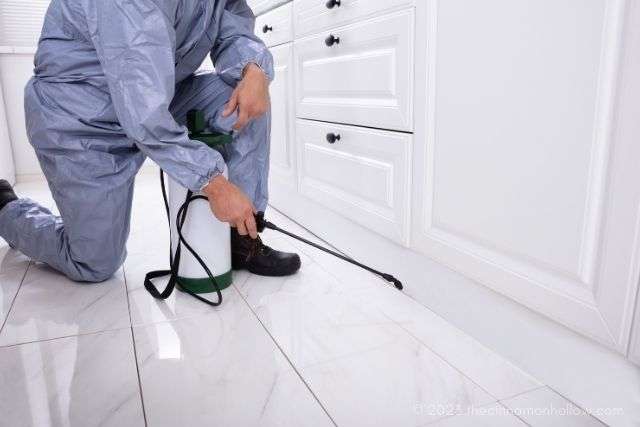
Sometimes during construction or after, there are defects such as gaps and uneven floors on the lower part of walls. It could also be wiring that is laid on the floor. Fixing these defects may be costly and time-consuming but skirting helps to hide them. It also serves as a cost-effective and less time-consuming solution.
As an addition, instead of covering wiring, the skirting can stand as a base on which the wiring can run so that is perfectly flushed against the wall.
For Beautification
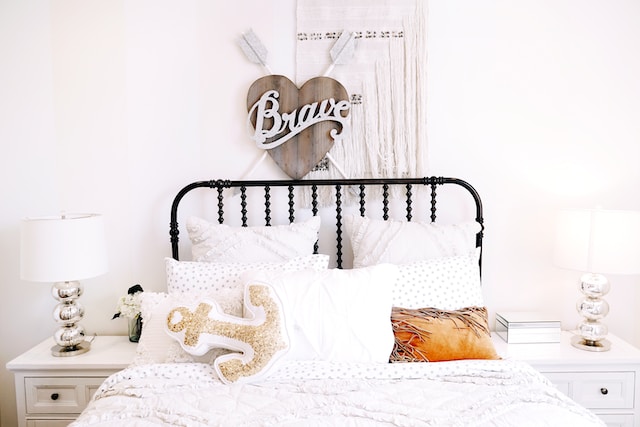
Before now, baseboards served the functionality of just protecting walls and there was not much more to them. They were plain and were made of simple materials. However, in modern times, they have evolved to be much more than that. Now, there are various materials available for making them and also various designs as well as colors so that they are aesthetically appealing.
Common Materials Used for Skirting
The most favored type of material used for skirting is wood. This can be lacquered, painted, or it can be left untreated. This wood can be further divided into subcategories like softwood, hardwood, and MDF. Each of these materials has its benefits but MDF is usually the preferred choice. If wood is your choice, remember that dust will be a problem. For that, be sure to take a look at the best dust collector.
Other materials that can be used include plastics such as uPVC, metal, and vinyl.
Installing Your Skirting Board
Now that you know what skirting is, its purpose, and the kinds of materials that can be used in making it, it is time to find out how you can install yours.
Skirting most times is fixed to the wall by the use of screws, nails, glue, and so on using some handy tools. UPVC skirting on their part may come with dowels that they can be attached to. Some tools you will need for installation include:
- Protective gloves
- Safety goggles
- Cable and pipe detector
- Panel saw
- Sandpaper
- Wood drill bit
- Pencil
- Measuring tape
- Power drill
- Coping saw
- Nails
- Glue
- Screw
- Workbench
There are other woodworking power tools that you may need that are not listed here but you have to get any tool that can make the job easy, effective, and enjoyable.
Steps for Installation
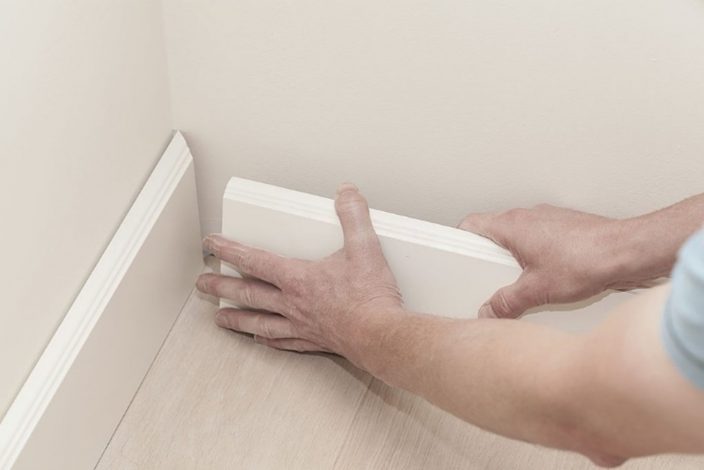
Take Necessary Measurements
Before you begin, ensure to measure the length of both your skirting board and wall. To ensure that you get accurate measurements, it is advisable to measure twice before you cut. With your measuring tape, get the length to cut your boards into. Use a pencil or handsaw to make a mark across the board where you will need to cut.
Cut Your Board
The next step is cutting your skirting board at the point you marked. You can do this by utilizing the handsaw and miter box at an angle of 45 degrees. You should position the board in a way that you are sawing into the face to prevent damage. Another thing to do is to rest the board on a support at the other end when cutting a longboard.
Cut the Scribed Joint
An important part of installing skirting is cutting scribe joints. This is because it is used to match one end of the board to another so it joins seamlessly at a corner.
To do this, cut from the scribed joint from the bottom of the board to the top as you follow carefully the line on the painted surface. Using a coping saw, cut in and out and as you get to the top of the board, cut away from it. This allows the board to have a lip that can fit with the top of the other skirting board.
Attach the Board
Now that your board is ready for attachment, depending on the kind of wall you have or the type of skirting material you are using, you may use glue, nails, or screws to secure the board on the wall. For the joints, push the scribed joint against each other so that they flush together against the corner, then secure with whatever is suitable. You can then repeat this until you have installed all the boards.
Looking for some inspiration for your installation? You can check out this article https://www.houzz.in/magazine/types-of-floor-skirting-and-how-they-can-transform-your-home-stsetivw-vs~113802604.
Conclusion
Installing skirting in your home is not necessary but it comes with plenty of advantages as you have seen above. If you wish, you can go ahead with installing it by yourself. Ensure you have all the necessary tools to enjoy the process else, you can get professionals to do so or you.

