I have always wanted to make my own homemade Vanilla Extract. With the rising costs of food, especially vanilla and the fact I use a TON of it, making my own seems much more cost effective. Today, I have for you a DIY vanilla extract recipe. It is super easy to make, although it does require some patience: 6 weeks minimum to be exact! I teamed up with Native Vanilla and received complimentary beans to show you this recipe.
Affiliate links have been used in this post and/or product was received as a thank you for purchasing. Purchases made through our links earn us a small commission to pay for our website, without any fees passed on to you.Thank you for your support! Read our full disclosure policy for more info.
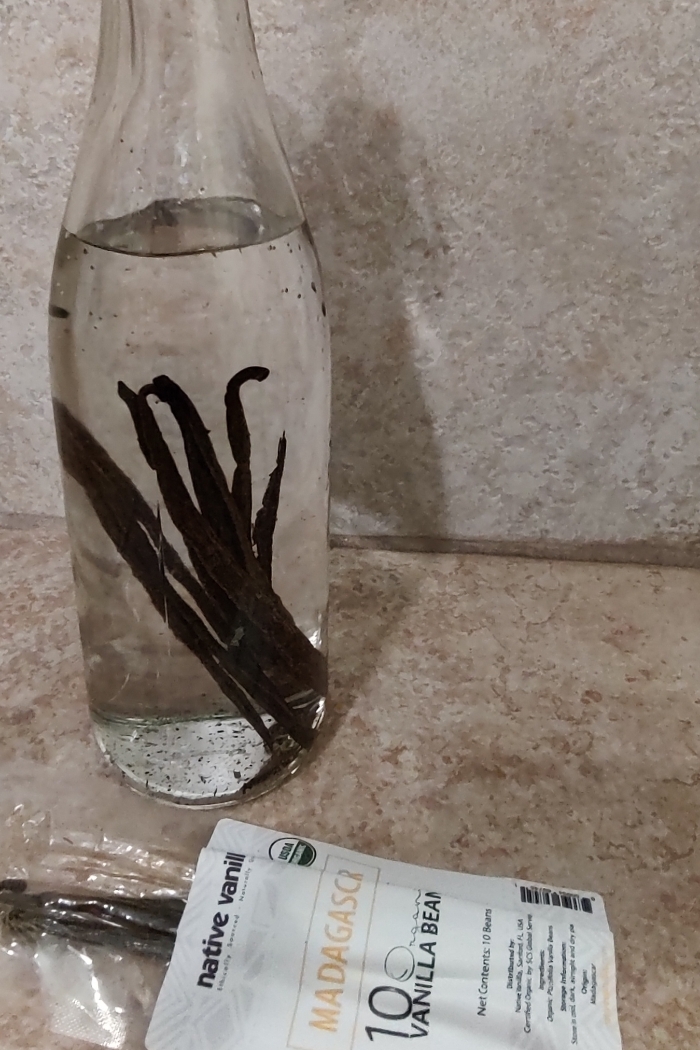
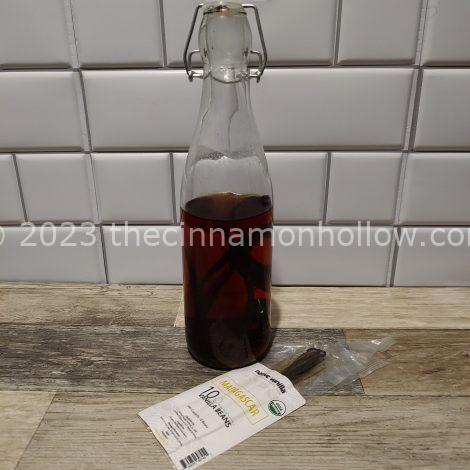
Homemade vanilla extract takes only minutes to prepare but can take anywhere from 6 weeks to 6 months to be fully ready to use. That is because it needs to steep in alcohol to release all that vanilla flavor. You will start with a clear liquid and end up with a gorgeous, dark extract full of vanilla flavor and ready for all your baked goods, drinks, etc. I love to use extracts in my iced Oolong tea and since I drink this almost every day, I go through a lot! Not to mention, I use vanilla in nearly all my sweet baked goods. So making a large bottle, versus the small bottles you buy at the store is a much better option for me.
In this recipe, we will be using Vodka, but you can also use Bourbon or Rum (not spiced). I want the true vanilla flavor for this batch so I’m using plain Vodka to get the most true vanilla flavor possible.
You will need a Vodka that is at least 80 proof. That is 40% ABV. You will also need a glass jar or bottle with a lid that can seal. You’ll be storing this in a dark cabinet and shaking once per week so you don’t want any leaks.
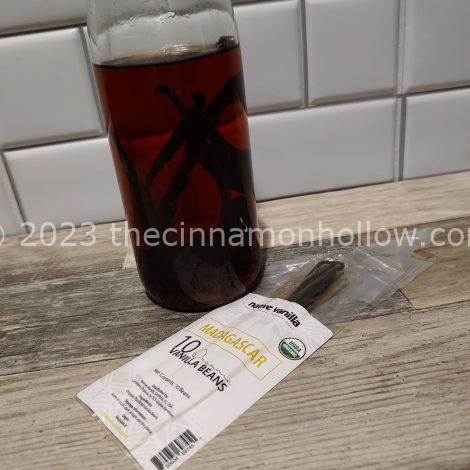
I am using and prefer to use Native Vanilla brand Organic Madagascar Vanilla Beans. Madagascar beans are rich, dark and creamy with an overwhelming sweet, buttery aroma and sweet, earthy, undertones of dried dark fruits. They create a buttery, creamy and fruity flavor in your vanilla extract.
Look at how gorgeous these beans are!

To determine how many beans per alcohol I’ll need, I use Native Vanilla’s online calculator. There’s 2 options to choose from when calculating:
Option 1 – Set the amount of alcohol you have and the calculator will tell you how many ounces of vanilla bean you need.
Option 2 – Set the amount of vanilla beans you have and the calculator will tell you how many fl oz of alcohol you will need. According to Native Vanilla, If you’re using average-sized vanilla beans, 6 to 8 beans equal one ounce. For plumper vanilla beans, 1 to 3 beans equal one ounce. For smaller vanilla beans, you’ll need 15 or more to make up one ounce.
It is so simple to make. You literally just slice open your Vanilla Beans, place them in your jar, cover with alcohol, seal and place in a dark cabinet and then wait, shaking once per week.
DIY Vanilla Extract Recipe Step-By-Step
Here are step-by-step photos of me making my homemade vanilla extract:

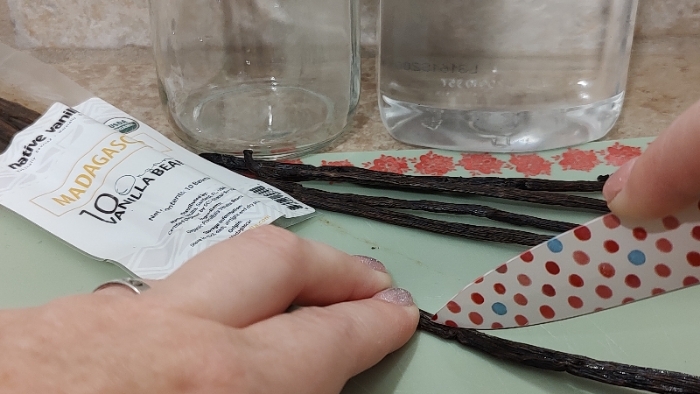
As you can see, the process is quite simple.
Recipe
Homemade Vanilla Extract: DIY Vanilla Extract Recipe
Ingredients
- 8 oz Vodka
- 6 Organic Vanilla Beans
Instructions
- Split vanilla beans down the center, length-wise to expose the inside
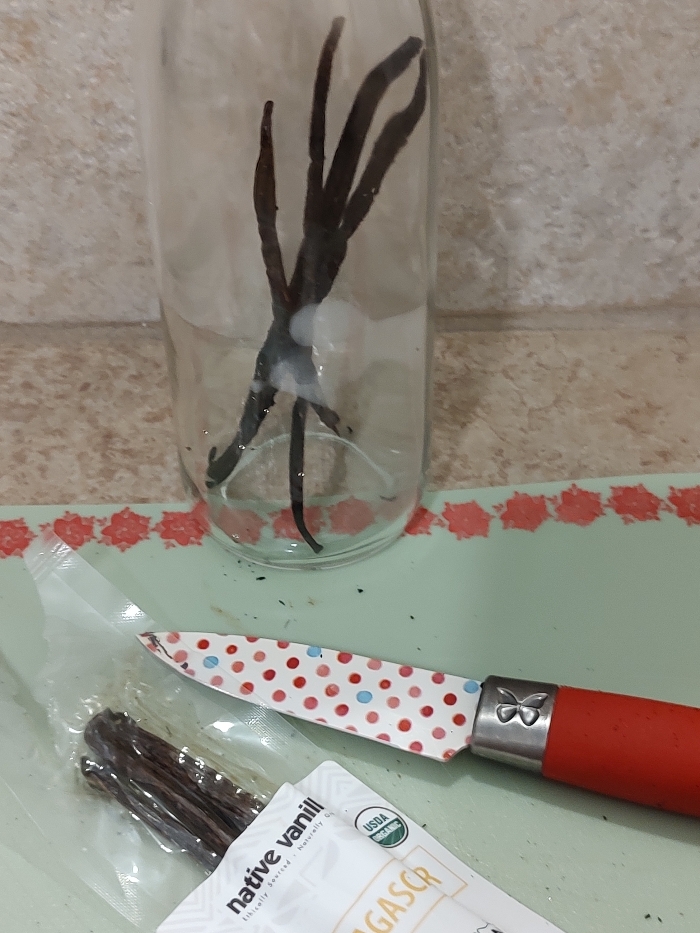
- Place beans in a glass, seal-able jar or bottle
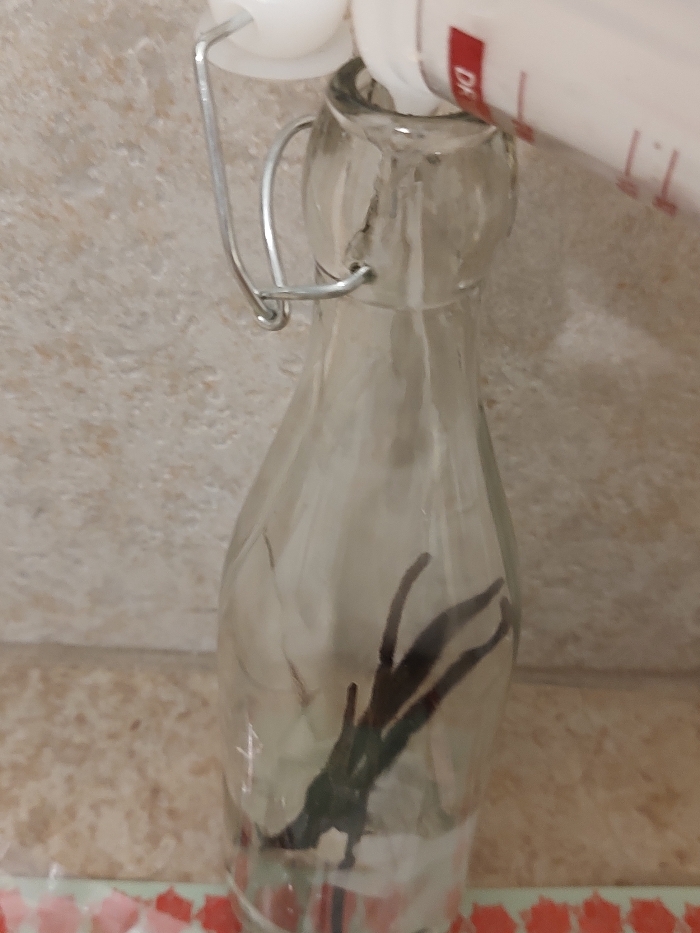
- Pour Vodka over beans, ensuring all beans are covered
- Seal jar or bottle and place in a dark cabinet
- Shake once per week for 6 weeks, preferably 6 months (I set a reminder on my phone)
- After time is up, enjoy your homemade vanilla extract! It will have deepened into a gorgeous brown color.
- I prefer to strain my vanilla extract into another container for use.
- DON'T discard your beans! (see notes for what to do)
Notes
If you use our recipe, I’d love to see your creations! Tag me on Instagram @cinnamonhollow with a photo of your DIY Extract!
Similar Articles You May Enjoy:
Travel Lover | Pet Mama | Beauty Junkie | Low Glycemic – Healthy Fats – Low Carb – Keto Inspired Food Enthusiast | Cocktails | Printables
I am a stay-at-home- mom, living in KY with my husband and children. I’m a travel and lifestyle blogger encouraging folks to live their life one adventure at a time while also focusing on beauty, essential oils and health. From time to time I also like to showcase my adorable pets along with my family. Along with Cinnamon Hollow I can be found at The Martin Family Adventure … read more