One of the first things people notice about you is your smile. And if you’re teeth are stained and yellowed, your smile just isn’t as nice as it could be. If you drink coffee and tea like we do, chances are your teeth could use some whitening. I do recommend annual visits to the dentist to keep a check on the overall health of your teeth. But have you ever thought about whitening teeth at home? With Spring Break and summer vacation right around the corner you’ll want your smile to look fabulous! We have trips coming up and I want to look good for photos and that includes my teeth.
Check out wholelifedental.com/teeth-whitening for more info on professional teeth whitening.
A year or so ago I told you all about a kit for whitening teeth at home, from Smile Brilliant, that I tried and loved. Recently, I teamed up with them again to test kits for myself and Clay as well as to become an affiliate (affiliate links have been used in this post. If you make a purchase using one of my links I will earn a commission at no additional cost to you). I like and use them that much. He had never used an at home kit to whiten his teeth so the experience was entirely new to him. And while I had used Smile Brilliant before, my teeth have shifted some since then and I actually needed new trays. So we went through the process together.
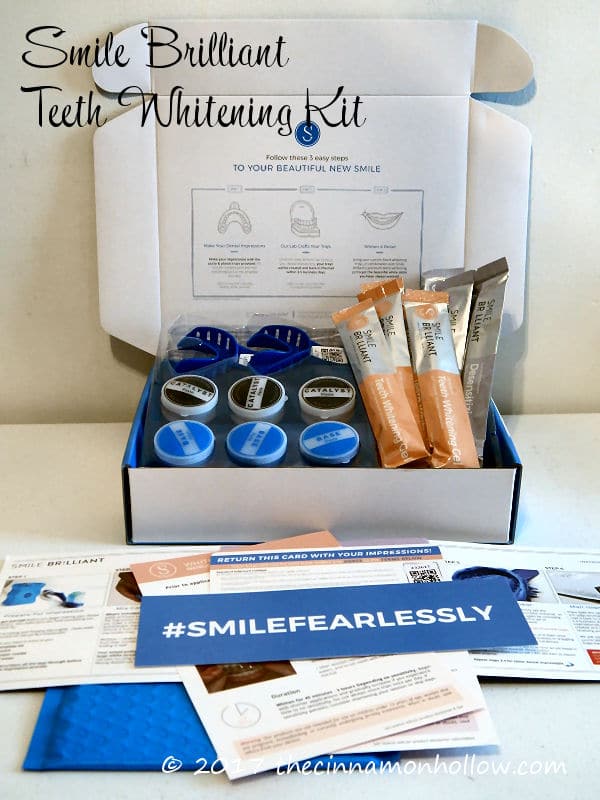
When you order the kit you receive the base and catalyst pastes and impression trays, pre-paid mailer envelope, whitening gel and desensitizing gel.
You’ll use the catalyst and base pastes along with the impression trays to make impressions of your top and bottom teeth. Then, you’ll mail them to Smile Brilliant in the pre-paid envelope and they will make your custom fit whitening trays. Once you receive your trays back, in about a week, you can start whitening your teeth!
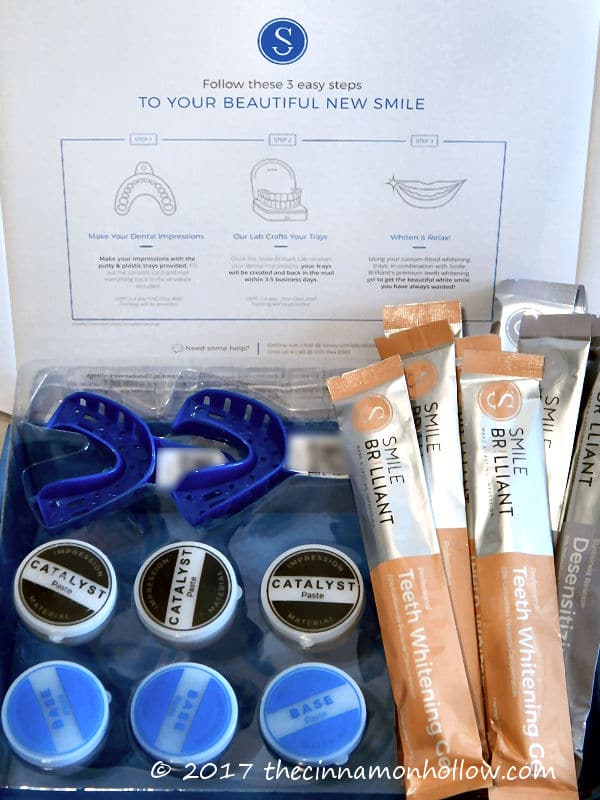
The impression are super easy to make and there are three containers of both pastes in case you mess up once or twice. But, really, you’ll get it on the first try. You just mix one container of base paste with one container of catalyst paste and fold it back and forth a few times until the putty is solid blue and no white remains. Just do it quickly because it will start to set up.
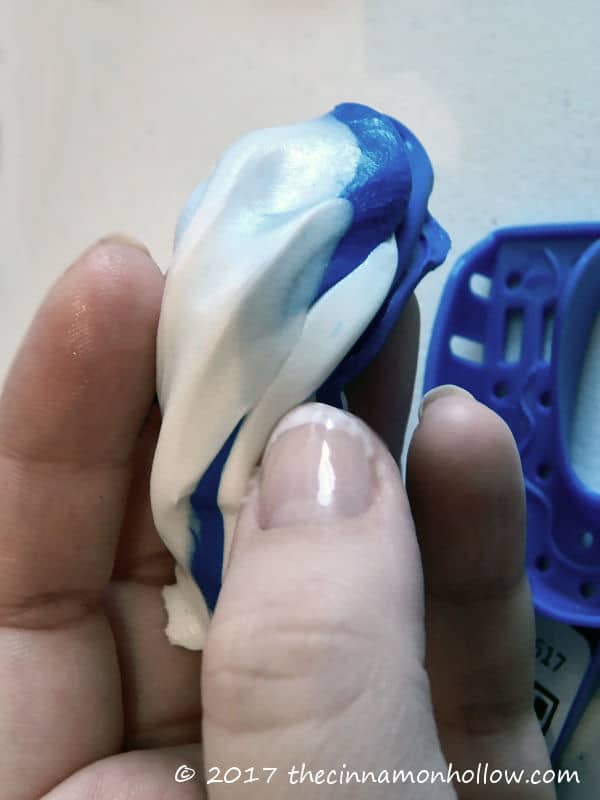
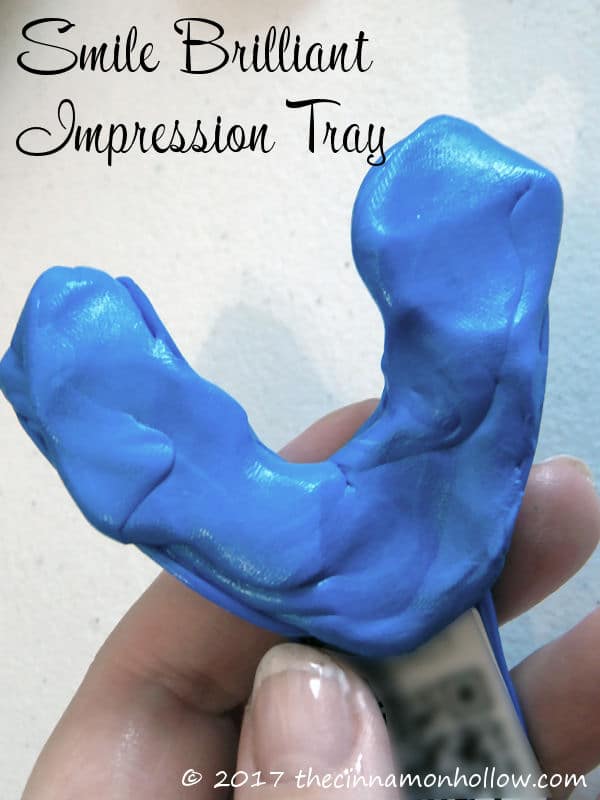
Once it’s thoroughly mixed, line one of the impression trays with it. Push the tray straight up or down depending on which you are doing. Don’t wiggle it and don’t bite down. Use your fingers to push it onto your teeth as straight and evenly as possible. Some of the paste will ooze out. Use your fingers and tongue to sort of shape it to the inside of your mouth.
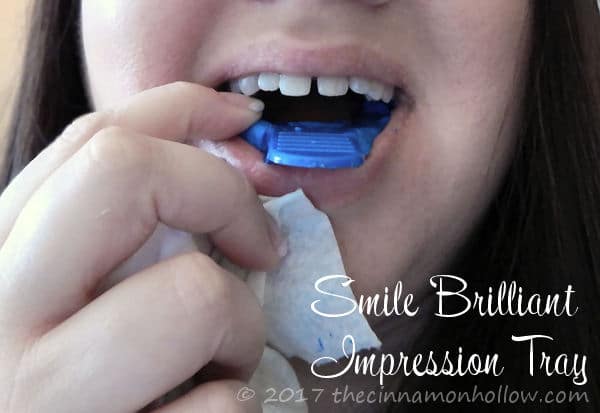
After 2 minutes, pull straight down and let it sit for 30 minutes. Don’t touch it while it is setting up. Then rinse it under cool water, let it dry, do the other one and mail them in!
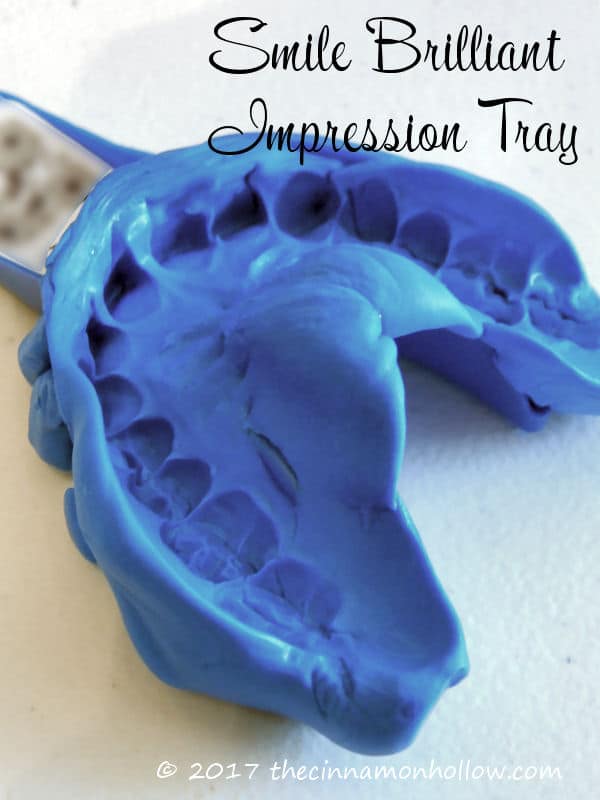
You’ll get your custom teeth whitening trays in about a week.
Then it’s time to whiten your teeth!
This part takes some time. Depending on the severity of your stains you may need to leave the whitening trays on for anywhere from 30 minutes to 2 hours. Clay and I both had great results after about 30 – 45 minutes. My teeth are fairly sensitive so I didn’t want to do too long each session. And they do have kits for both sensitive teeth and non-sensitive teeth. Still, I found that doing multiple, shorter whitening sessions kept my teeth and gums feeling great and I didn’t have any sensitivity. So I do a couple days in a row when I need it.
Ok for whitening teeth, you will first brush your teeth with water only, no toothpaste. Then, use a paper towel to really dry your teeth off well. Hold on to that paper towel! You’re not done with it. Next place a small line of the whitening gel on just the front edge of your whitening trays. Don’t use too much or it will ooze out. A little really does go a long way in this instance.
Place the whitening tray on your teeth the same way you did the impression tray. Don’t wiggle it around. Then repeat with the other tray. Take that paper towel I told you to hold on to and wipe off any whitening gel that may seep out. If you feel like there is some on your gums beneath the trays, gently pull the trays down, wipe JUST your gums and slide the tray back onto your teeth. If you don’t the whitening gel can irritate your gums and cause a burning sensation. The instructions recommend a cotton swab but Clay and I both found a paper towel works much better.
Ok watch tv, listen to music, do some chores, etc. while your teeth are whitening. Leave them on as long as you feel you need but I would always start with the shortest time for the first time and see how your teeth and gums feel after.
After you’ve finished the whitening process it’s time to desensitize. DON’T SKIP THIS STEP!!!
Rinse your trays under cool water to get the whitening gel out and dry them off with another paper towel. Brush your teeth with toothpaste and also dry them with a paper towel. You’re going to apply the desensitizing gel the same way you did the whitening gel. It only has to stay on for 15 minutes though. When you’ve finished, rinse and dry your trays but DO NOT rinse or brush your teeth. Leave the desensitizing gel on your teeth. You may need to spit a little in the sink but don’t rinse your mouth. And don’t eat or drink anything for at least 30 minutes.
And you’re done. You’ve successfully completed the process to whiten your teeth at home and your smile is bright and shiny and ready for fun photos on Spring Break or summer vacation, family reunions, weddings, family portraits… you name it! Your teeth will be white.
Ok, back to Clay. I went through this entire process with him and his teeth look wonderful. We didn’t have any trouble creating his trays. No problems with the whitening process. He said it was very easy and he’s glad I roped him into it ordered him a kit. 😀
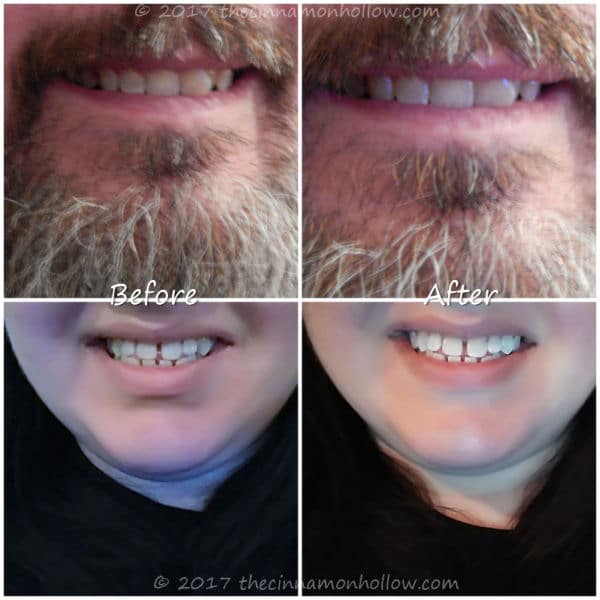
So, if you’re interested in whitening teeth at home without paying a fortune to have it done, check out Smile Brilliant. It’s fast and easy!
Ready to purchase? Save 5% with coupon code: thecinnamonhollow5
Enter to win $139 store credit to Smile Brilliant! Enter through this link: www.smilebrilliant.com/g/
